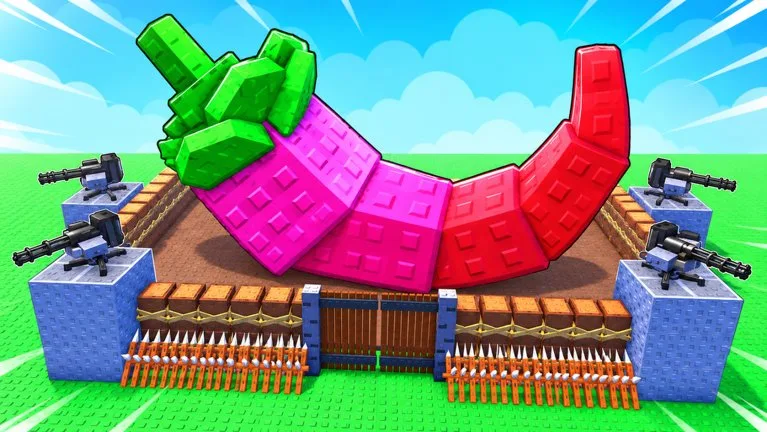
Walls are what keep a rolled or stolen plant yours. The build order below runs from the tutorial box to stacked tiers, an expansion, a barbed-wire ring, and a drill. Prices are from one session unless the game later publishes a shop table.
Build order
| Step | What you do |
|---|---|
| 1. Starter walls | Place the three tutorial walls as a box around the plot |
| 2. Tiers | Buy a stronger wall level when the cash is actually there |
| 3. Expansion | Buy more build room. One session charged 50,000 cash |
| 4. Stacking | Build new walls on top of walls you already placed |
| 5. Defenses | Ring the outskirts with barbed wire and place a drill |
| 6. Rework | Delete, open, or swap pieces whenever the shape is wrong |
Place the first three walls
The tutorial walks a fresh plot. On console the prompt is "Press R2 to place three walls around your base", and a preview shows where each piece will sit before you commit. Where the three walls go is still your choice.
A closed box is the safe first shape. An enclosed plot stops other players from walking off with plants, including plants that are worth very little. Plants live inside that box. If you seal every section, you lock yourself out too. Pull pieces off to get back in. One player had to take two sections off just to enter.
Buy the next wall tier you can afford
The shop shows wall levels one through four. A higher level is stronger and costs more cash. In one session, level two was out of reach at the start, level three became affordable around the same time as the expansion, and level four was the next savings goal.
Cash is the real gate. That same session also spent on carry space and a better axe. Carry space was treated as the buy that raises how much money you can make. The axe had no published stats.
Expand, then stack
The base expansion opens more build room. It cost 50,000 cash in one playthrough. After that purchase, rebuilding the perimeter in the stronger tier was the natural next job.
Upgrading does not mean you must delete the old ring. New walls can sit on top of old ones: wood on stone, or a level two on a level one. Extra height makes a jump harder and forces a raider to pick at the wall, which buys you time to notice them. It is not immunity. Three stacked layers were still called jumpable. One extra top layer, in one build, stopped the jump. Wood stacked on stronger stone was judged to add only a little protection.
Raiders can pick at walls while they break in. Height is reaction time.
Add the outer pieces
Barbed wire goes around the outskirts, on tiles you choose. It is cash-gated. One session could not buy it early, then paid 100,000 cash for level two barbed wire. The drill is placed on a tile you pick. What the drill harvests or damages is not documented, so do not buy it for an effect this guide cannot name.
Nothing in the ring is permanent
You can delete your own walls, open an entrance, place a piece and remove it later, or swap a weak section for a stronger one. A half-upgraded line, with two tiers on the same wall, is a normal work in progress.
Rebirth knocks the stack down
Rebirthing wipes the built wall stack, so the base is rebuilt afterward. Requirements seen in one session are on the rebirth guide. After that reset, the same session bought carry space before new walls, because more carry space was treated as more money.
That is the loop: box the plants in, climb tiers you can pay for, expand and stack, add wire when the cash exists, and reopen the box whenever you cannot get back inside.